
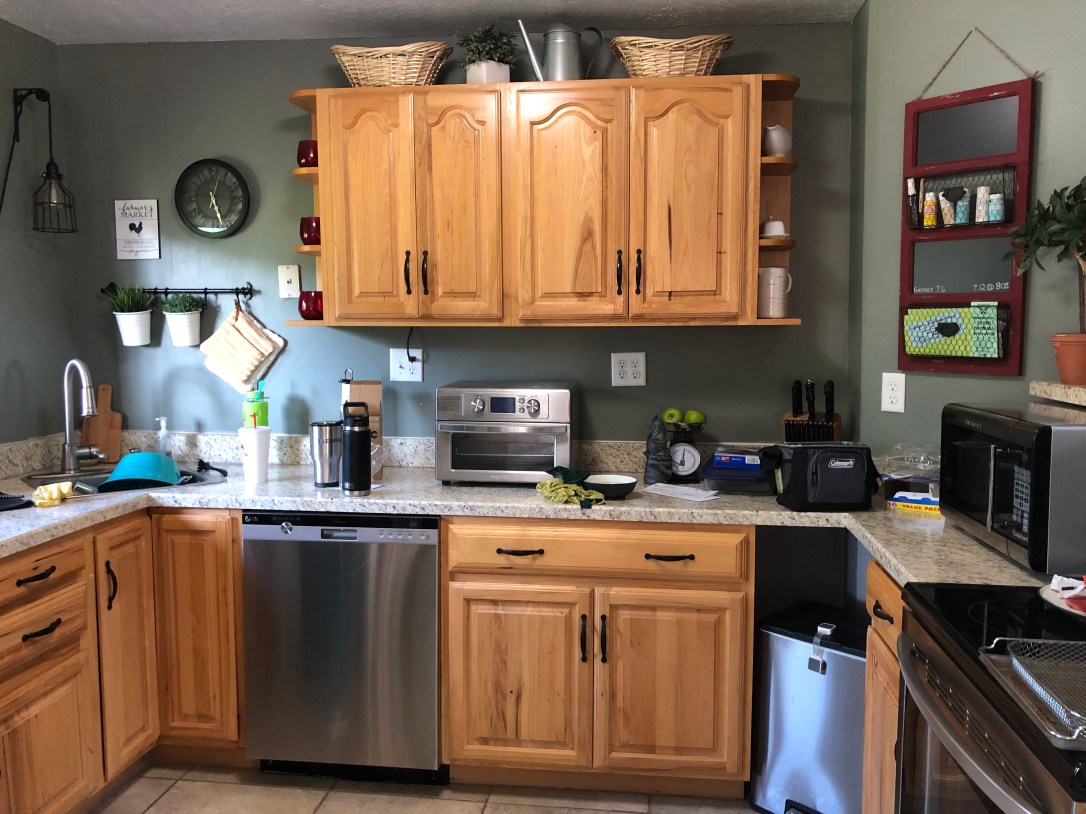
Starting a major DIY project, like painting our kitchen cabinets, was very intimidating for me. But I had finally grown tired of looking at that glossy, semi-orange stained (from aging I presume) wood. Since posting pictures of the finished product I’ve received so many questions, both in person and online, about the process of painting our outdated, 21 year old cabinets.
This was a project I’ve been dreaming about for a couple years and last Sunday evening I finally broke down and bit the bullet, so to speak. Armed with a few household items, a gallon of paint [leftover from a previous DIY] and a handful of foam craft brushes – yes, I’m serious! You won’t believe the smooth, even coverage you get from them! – I set out to transform our dull, ugly cabinets.
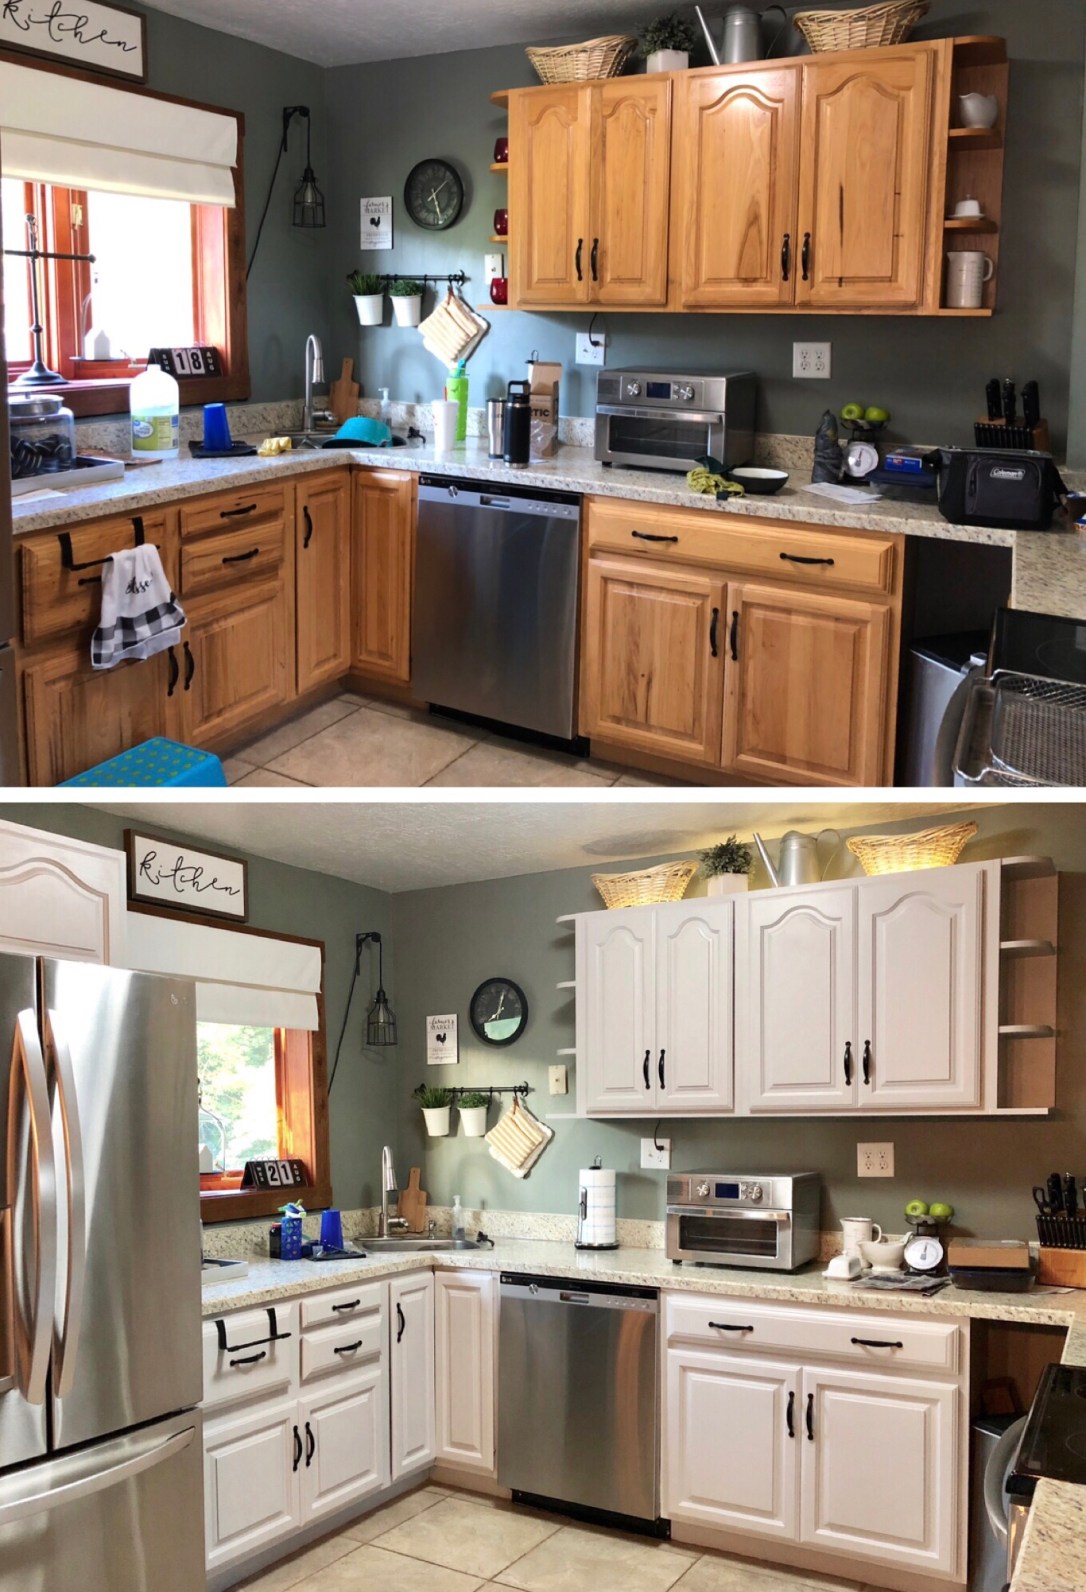
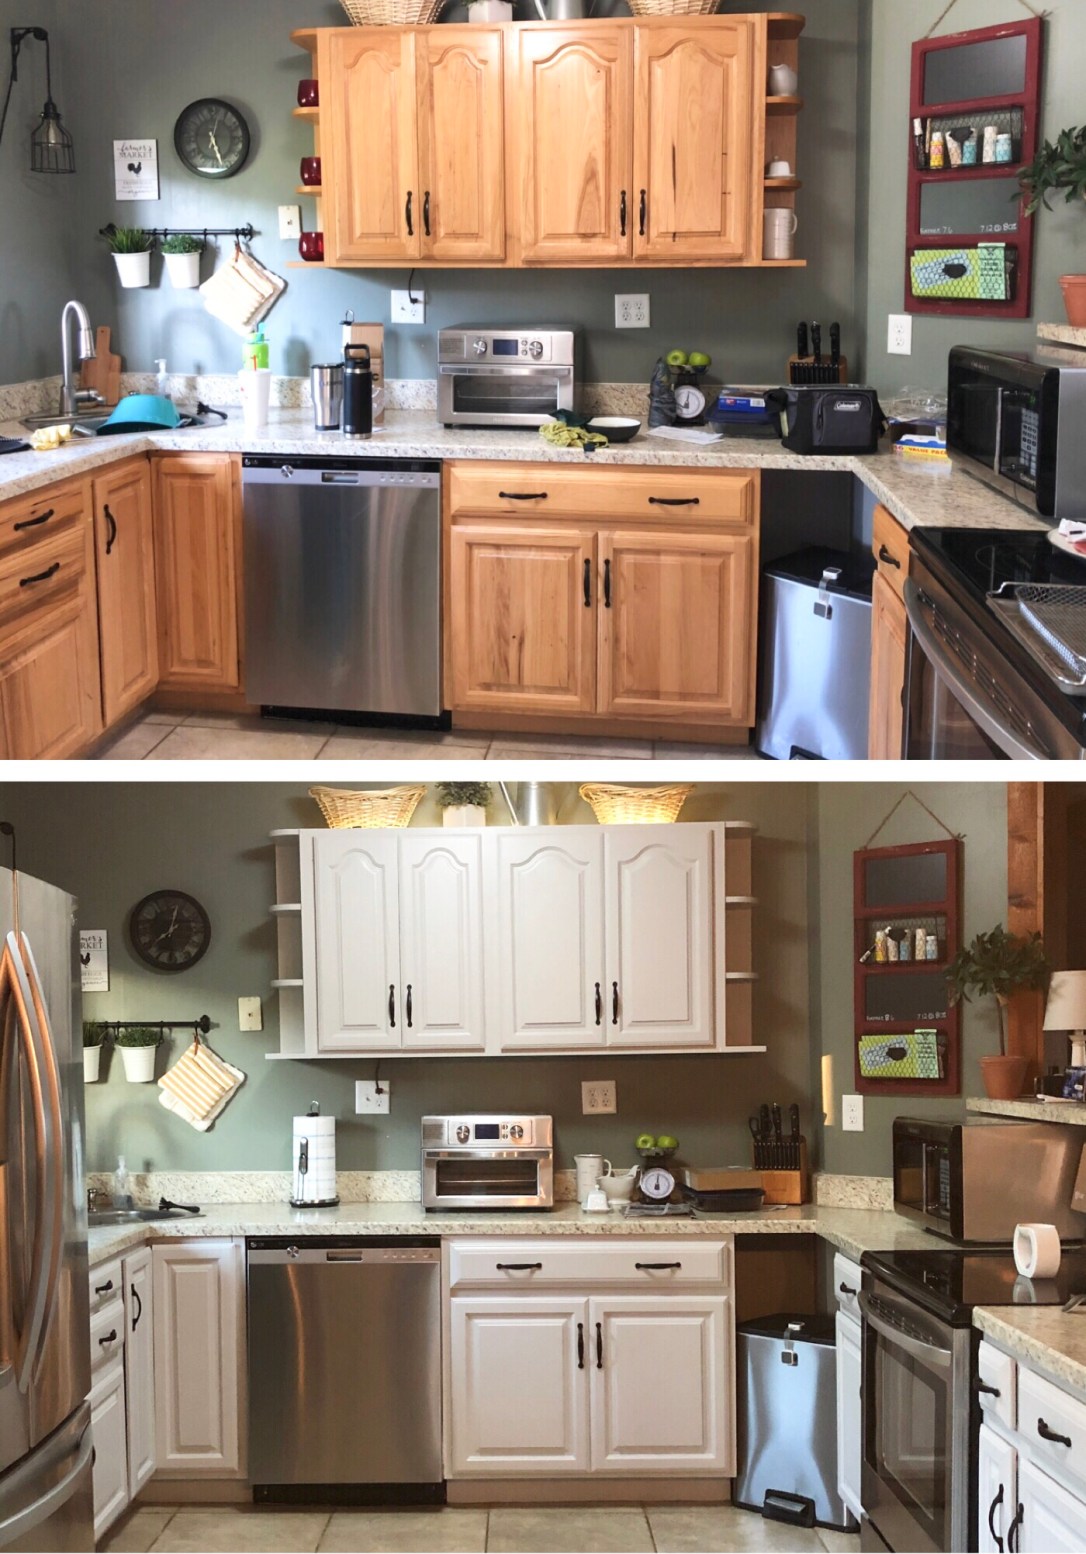
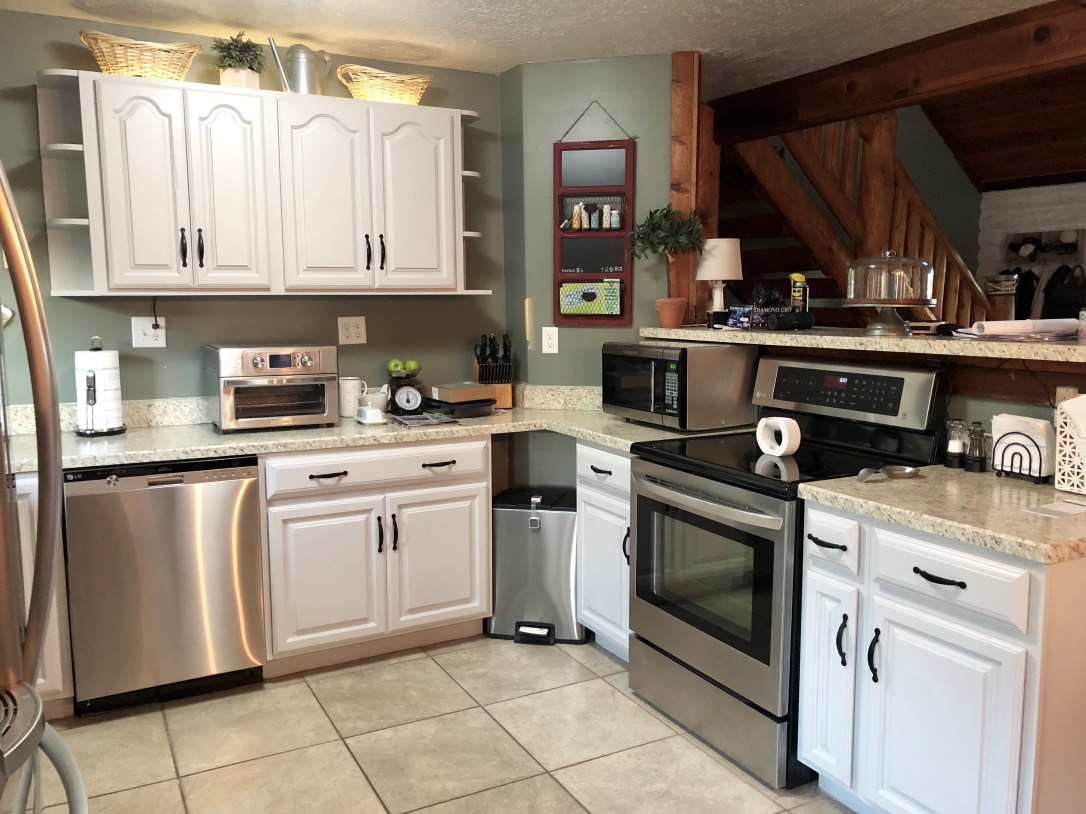
So, without further ado.. here’s a step-by-step guideline of what I did, as well as a few before/after pictures!
WHAT YOU’ll NEED: (note: these are all things I had on-hand which was great since I’m impatient and wanted to get started immediately. Also because I enjoy being thrifty and didn’t want to purchase any additional supplies lol).
1. Screwdriver- phillips head
2. White vinegar
3. Water – regular tap water will do 😉
4. One Scotch-Brite pad (those rough, green pads)
5. Clean, old wash rag or hand towel
6. Small piece of fine grit sand paper
7. A pack of foam craft brushes (See picture below)
8. Paint in color of your choice – I happened to have almost an entire gallon left of Behr Stain-Blocking Paint & Primer In One from some touching up I did in our family room this past Spring. It says it’s white and it honestly looks like white paint but it was actually tinted the lightest shade of gray to match our family room walls. It’s just regular interior paint with an eggshell finish.. not glossy or semi-gloss. (See picture below)
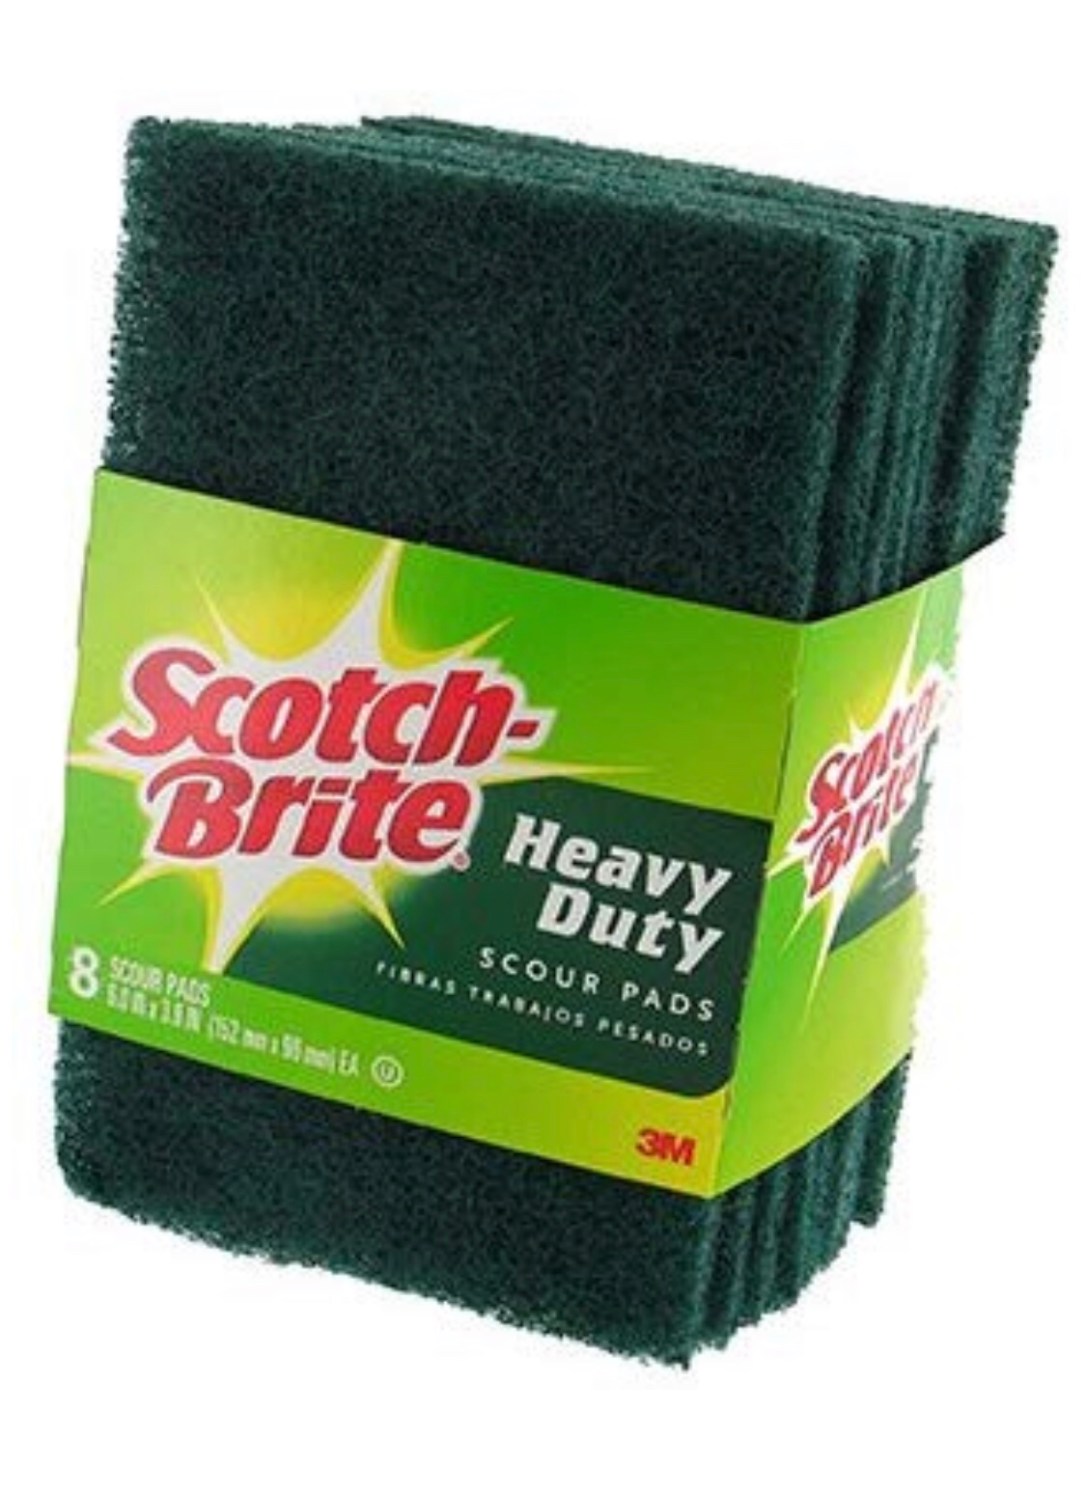
These pads help to rough up the glossiness on the cabinets while you degrease!
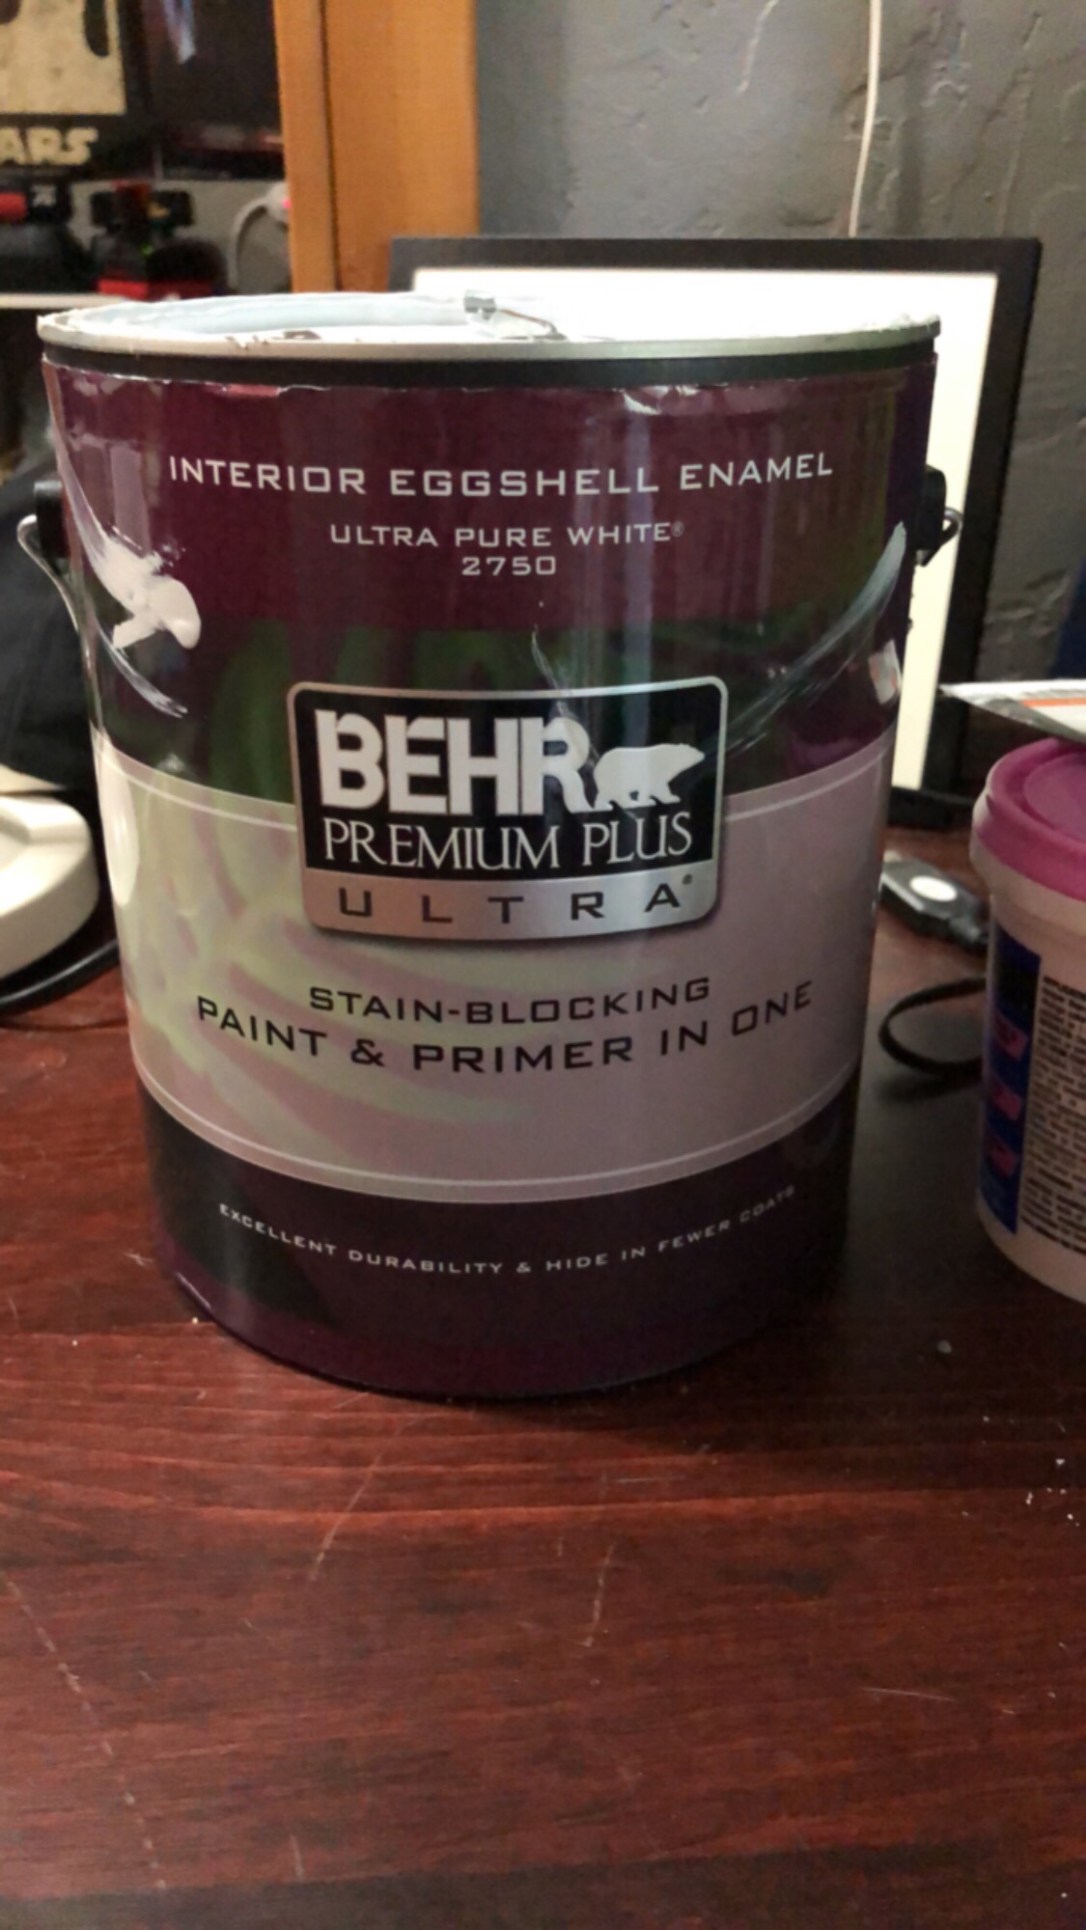
My favorite paint brand!
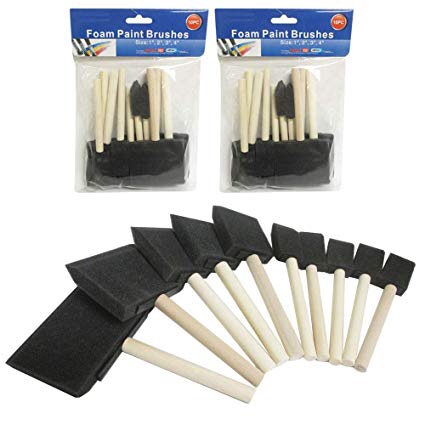
**I choose to use these foam brushes for so many of my projects because I feel like they give me the precision of a brush combined with the coverage of a roller. Plus, they’re super cheap so after rinsing one out once or twice and reusing it, I just pitch it and grab a new one! I love them!**
STEPS:
1. First, in a small bowl, mix together 1 part white vinegar to 3 parts water.
 2. Dip the scotch-brite pad into the mixture, squeezing the excess back into the bowl. Scrub each cabinet to degrease and remove any built-up grime. Wipe dry with a clean, old wash rag or hand towel.
3. Next, start taking off those cabinet doors/drawer faces. Remove the handles and lightly sand each door/drawer face. Then, blow off each door before painting.. nothing fancy, just good ol’ air from your lungs!
TIP: Rather than removing all of the doors at once, I did one section at a time so I only had 3-4 doors/drawers off at any given time. This was easier for me since I knew the project would take several days and we needed to use our kitchen/breakfast area in the meantime.
4. Shake (before removing lid) or stir your paint really well. Then grab a foam brush – I switched back and forth between 1″ and 2″ brushes – and using a back and forth motion, apply the first coat starting with the back of the cabinet door and then, once dry, apply the first of two coats on the front of the door. I chose to only do one coat on the back of my cabinet doors because they aren’t seen often and most people don’t stare at the inside of a cabinet door.
*** Don’t forget the edges! Be sure to apply two coats to all of the edges as well. ***
5. Allow the first coat to dry. During this dry time I applied the first coat to the cabinet “body” on the wall.
6. Apply a second coat to all pieces – except the back of the doors if you chose to cut out that extra coat.
7. Let everything dry completely and then screw the handles back on and reattach the door/drawer face to the cabinet body.
That’s it!
From start to finish, this DIY took approximately 22 hrs. which I had to spread out over 4 days because, you know, mom stuff.
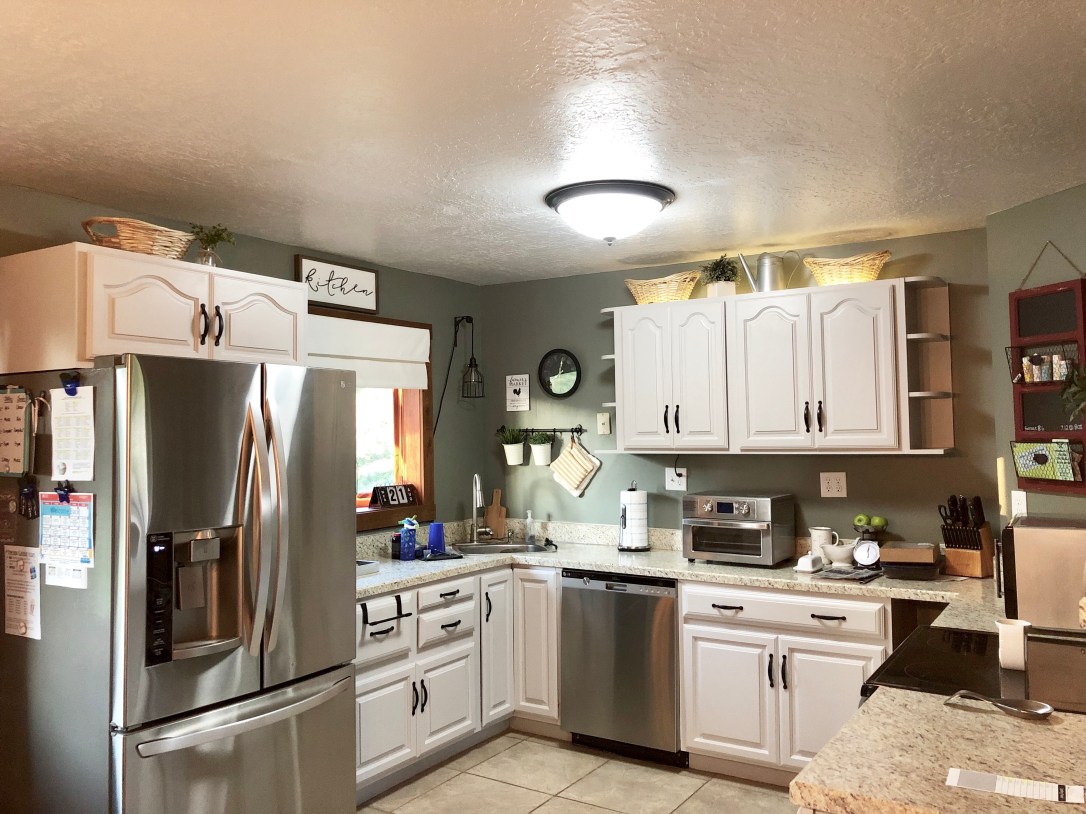
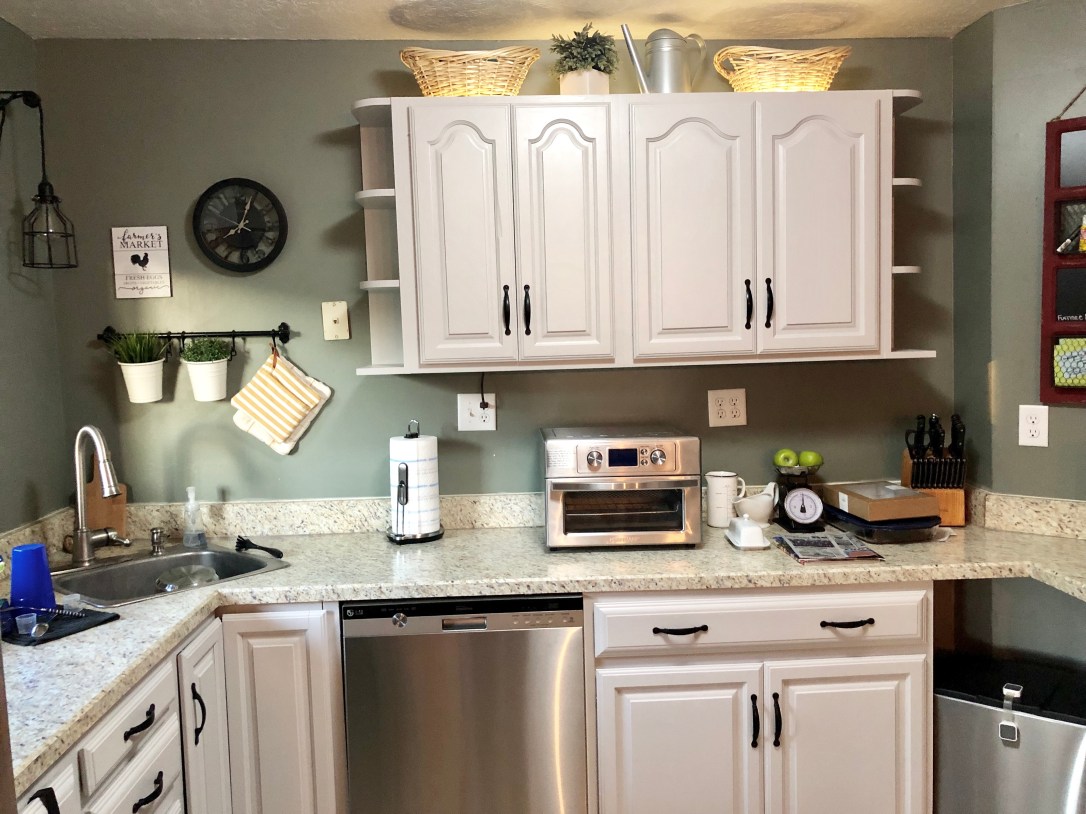
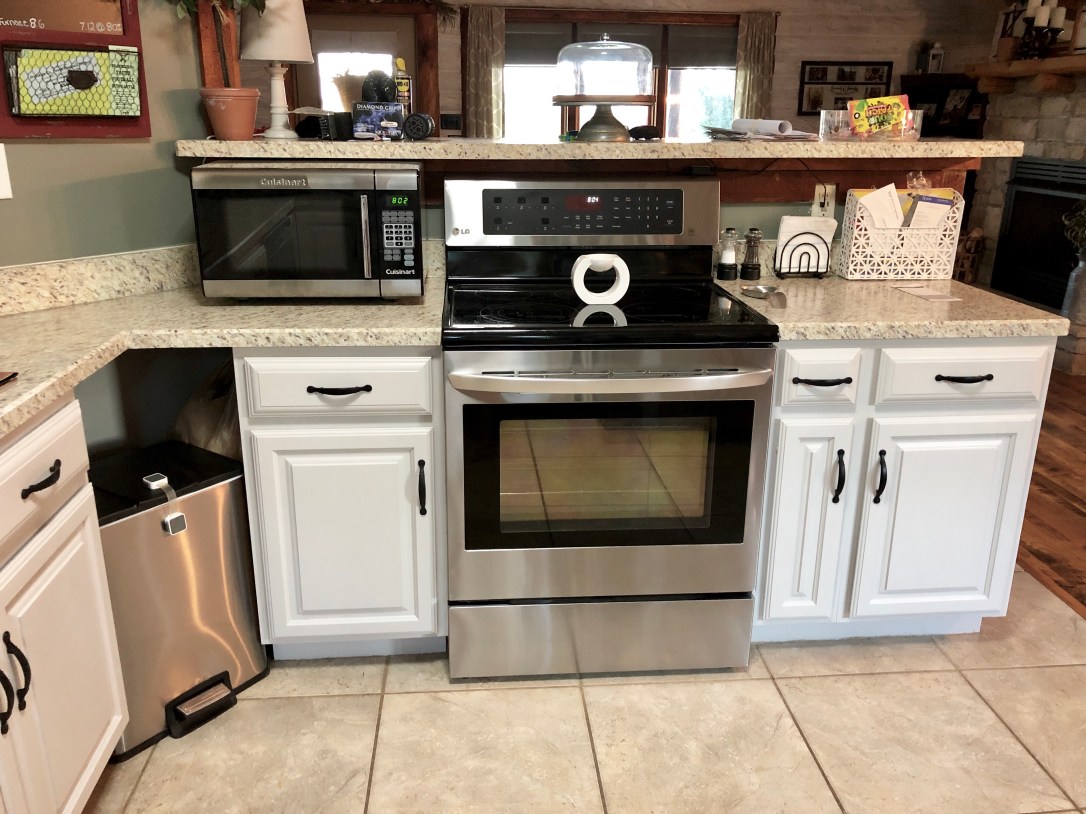
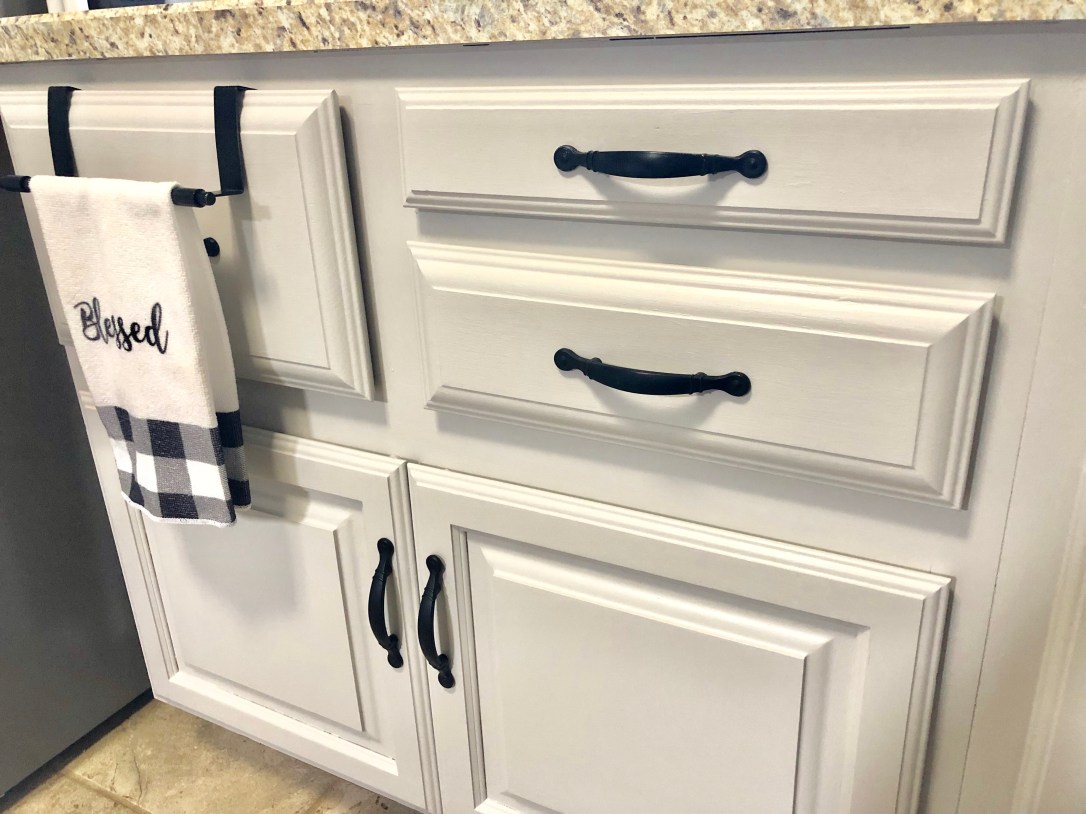
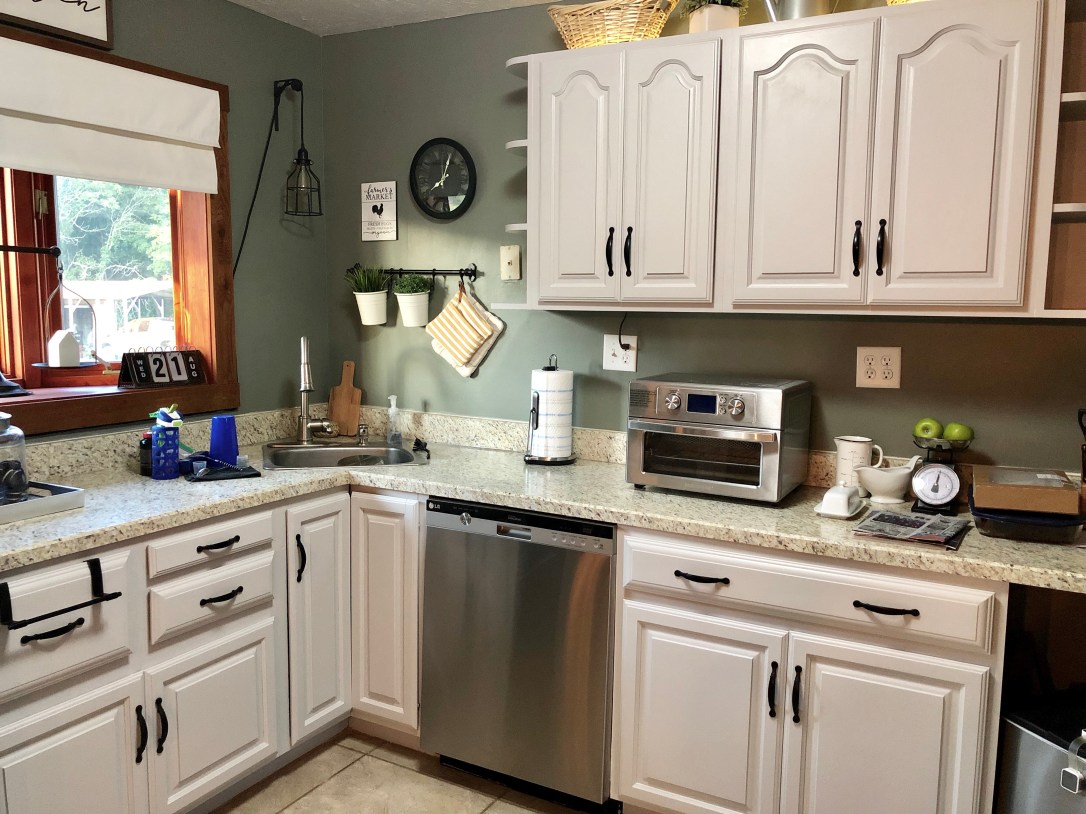
Now all that’s left to do is sit back and enjoy your beautiful kitchen!
If you’re thinking about tackling this DIY in your own home and you have any questions, please feel free to drop them below! Also, I’d love to hear your tips and tricks if you’ve taken on a project like this in the past!

